Showing entries for
Entered Information
| Student Name: | Paige L |
| Grade: | 11 |
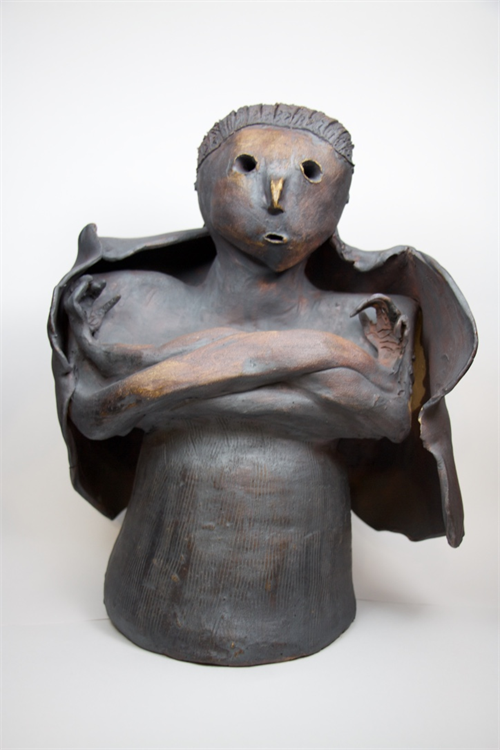
| Title: | The Guardian |
| Description: | Haniwa Figures are unglazed terracotta rings, cylinders, and figures of animals, people, and houses. They were deposited at Japanese tombs during the Kofun and Asku periods. The purpose of these figures has no definite determination, but it is said that they were examples of conspicuous consumption of the social elite or preformed a protective function. Many Haniwa figures are particularly detailed in their execution, providing valuable insight to the culture and period. They are a perfect example of early Japanese sculpture. I decided to take a more traditional approach when creating my Haniwa Figure. I created a angelic, female figure characterized with deep, circular eyes and ears, a small rounded mouth, and a simplistic nose. To create my figure, I used the coil method. When using this method, you roll out long strips of clay in an cylindrical form. You can create your coils as thick or thin as you need to, but I chose to keep mine thick in order to achieve the height necessary. I created a large, circular slab to act as a base for my piece. I then wrapped the coils around the base, stacking them as I went on, scoring and applying slip each time to ensure the coils would stick together. After achieving the desired height, I placed another slab on top and smoothed over all of the coils to achieve a more cohesive look. I then used coils to create her shoulders, neck, arms, and head. I first stacked coils on the left, center, and right of my top base to create the neck and shoulders. After smoothing that out, I went on to build up coils to create the head, which I also smoothed out. After creating the structure, I began to start adding my details. After marking the correct proportions, I went on to achieve the depths of the eyes and ears by poking a skewer into the head and rotating it in a circular motion to widen and deepen each one. To achieve the mouth, I went on to use the same method that I had used previously for the eyes. I sculpted the nose out of a separate piece of clay, scored it, and applied slip to attach it. I then went on to create the hair and blanket that is wrapped around the shoulders of my figure. To create the hair, I used a slab and a skewer. I sculpted deep lines through the slab to make the hair look more realistic. I then scored the hair and applied slip to ensure that the hair would stay in place. I then used two slaps to create the blanket. I sculpted the sides to create a wavy look by simply using my hands to mold, curve, and smooth the edges. I then scored the blanket and applied slip to ensure the blanket would stay in place. I then added minor detailing the the base of my figure using a serrated metal rib to create different textures. I then used a skewer to create the minor detailing in the hands. After creating and detailing my figure, I then went on to apply color. I used iron oxide rather than glaze in order to achieve a more traditional look. I applied three coats of iron oxide to the entire figure to ensure there wouldn’t be any bare spots. I then went on to fire my piece which I did using a kiln because I was unable to fire it the traditional way, which is pit firing. After my figure was finished, I used steel wool to rub some of the iron oxide from certain areas of the face in order to achieve a glowing look. My Haniwa Figure was then finished after a week and a half long process. |
| Dimensions: | (L)11 x (W)6 x (H)13 (Inches) |
| Weight: | 11 Lbs. |
| School: | Huntingdon Area School District - Huntingdon, PA |
| Teacher: | Sally Frehn |
| Exhibition: | The 22nd Annual National K-12 Ceramic Exhibition |
Recognition
No awards given
Additional Work Info
| Clay Vendor: | Standard, Stoneware |
| Wheel Vendor: | |
| Tool Vendor: | Clay King |
| Glaze Vendor: | Other |
| Kiln Vendor: | Paragon |
| Firing Temp: | High Temp, Cone 6, |
| Atmosphere: | Oxidation |
| Cone Number: |
Entry Photos


Front Photo

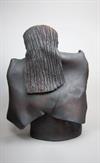
Back Photo

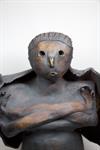
Top Photo
